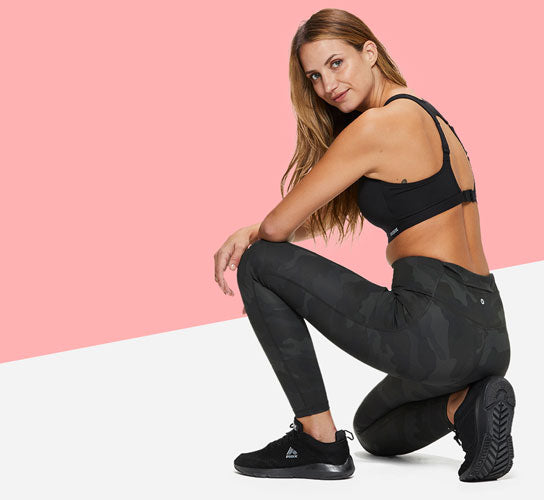
By Amanda Webb, Contributing Blogger
When you’ve spent your morning working out, the last thing you want to do is put a lot of time and effort into putting together your lunch. These summer lunch recipes can be made ahead of time to make things much easier for you. They require some prep ahead of time, but it’s well worth it. They are delicious, healthy, and will satisfy your post-workout hunger in the best way.
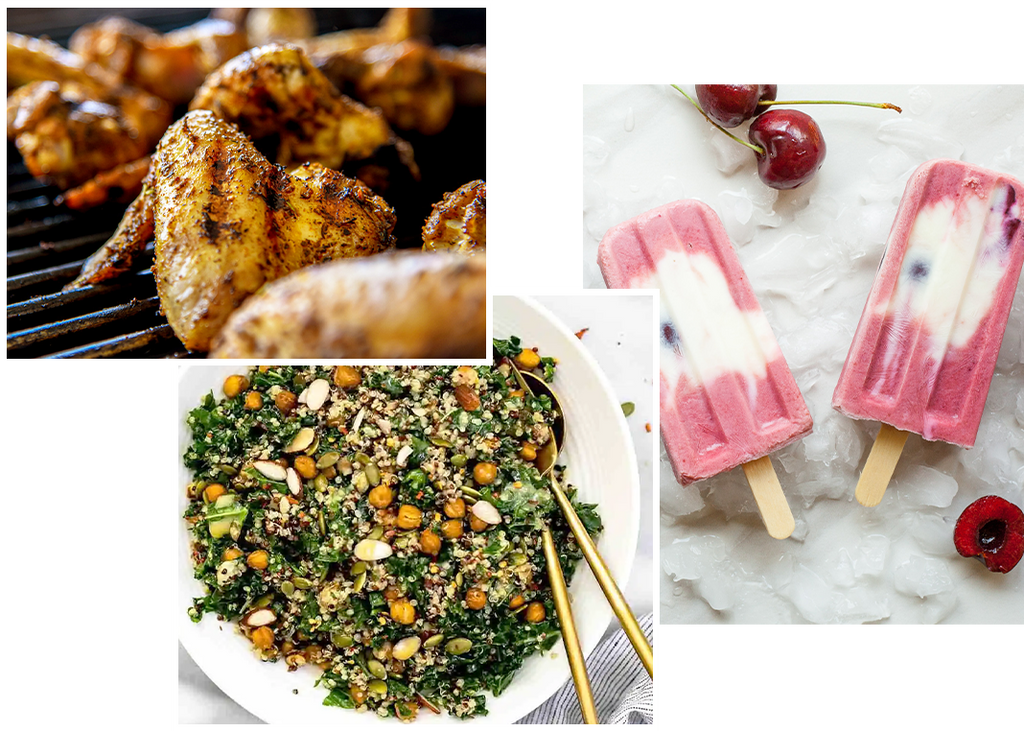
Lemon Kale and Quinoa Salad
This salad will become one of your favorite summer lunch recipes. It’s so easy to put together and you can also make it ahead of time. It will stay fresh in the refrigerator for up to two days. So, you can make some for lunch or dinner and then have leftovers for the next day. The high-protein quinoa will restore your stamina after a hard workout. Fiber-filled kale will leave you feeling full, energized, and ready to move forward with your day.

Serves: 2 people
Ingredients:
Dressing-
2 garlic cloves, minced
1 shallot, minced
2 lemons, zested and juiced
3 tablespoons extra virgin olive oil
1 teaspoon red wine vinegar
1 teaspoon honey or maple syrup
Salt and pepper, to taste
Salad-
2 cups lacinato kale, chopped fine
2 cups cooked quinoa
4-5 dates, ¼” diced
1 red bell pepper, diced
½ small red onion, diced
¼ cup pecorino cheese
¼ cup toasted pine nuts
Instructions:
- To make the dressing, combine all of the ingredients in a mason jar and shake until everything is mixed together. You can make this dressing ahead of time and store it in the refrigerator for 3-5 days.
- To make the salad, toss together the kale, cooked quinoa, dates, red pepper, red onion, pecorino cheese, and pine nuts in a large bowl.
- Drizzle about half of the salad dressing into the bowl. Gently toss together and taste the salad. Add more dressing, based on your taste preferences.
Tips:
- This recipe is great as-is, but you can also increase the protein amount by adding grilled fish or chicken. See the recipe below for a simple roast chicken recipe you can use all week.
- You can substitute the pecorino cheese with parmesan or feta cheese.
- Try adding different herbs, dried berries, or toasted nuts to the recipe. The options are endless and you can use this recipe as a template and evolve it all summer.
Easy Grilled Whole Chicken for Meal Prep
Who doesn’t love a rotisserie chicken? The smell of the delicious, roasted chicken is a tease the whole way home from the grocery store. While they are convenient and delicious, they sometimes have high sodium and sugar levels. That’s not ideal when we’re trying to stay on top of our health.
Instead, with a few (very easy) extra steps, you can get that delicious, rotisserie flavor right off your own grill. This way, you’re in control. Plus, you can roast this chicken at the beginning of the week and use it for meal prep. It’s one of those great summer lunch recipes you’ll want to make all season. It just so happens to go really well with the Lemon Kale and Quinoa salad above and many other salads.

Servings: 4-6
Ingredients:
1 4-5 lb. whole chicken
2 tablespoons extra virgin olive oil
1 tablespoon kosher salt
1 teaspoon black pepper
1 teaspoon granulated garlic
Instructions:
- Preheat the grill. You’ll be using indirect heat to cook the chicken (so you will only use a portion of the burners.) Make sure that your grill grates are clean and oiled. Turn the burners you are using on to medium-high heat and close the grill. For example, turn the outside two burners on, leaving the middle burners off. You’ll want the grill to reach a temperature of 400-450F.
- To prep the chicken - make sure that you remove the giblets from the cavity. Also, clean off any extra fatty pieces. Pat the chicken dry.
- Brush the olive oil over the entire chicken. Sprinkle the salt, pepper, and granulated garlic over the whole chicken. Gently rub in the seasoning.
- Place the whole chicken, breast side up, over the burners that are not on.
- Close the lid and do not open for 30 minutes.
- After 30 minutes, check on the chicken. Baste again with more oil, if desired.
- Close the grill and cook for another 30 minutes.
- After about one hour of cooking time, check the internal temperature of the chicken. It should be 165F.
- Once the chicken is cooked, let it rest for 15-20 minutes.
- When the chicken is cool enough to handle, you can cut or pick off the chicken pieces and store them for use throughout the week. It’s best to do this when the chicken is still warm. The meat will come off much easier.
Tips:
- You can also baste the chicken with a sauce during the second portion of cooking. You can use any BBQ sauce you’d like.
- It’s best to estimate 15-20 minutes of cooking time per pound.
- Always check the internal temperature of the chicken. 165F is considered safe and 180F is ideal for legs and thighs.
Homemade Creamsicles Popsicles
What better way to round out a delicious post workout summer lunch than with a refreshing popsicle? It’s pretty simple to make popsicles at home. You can use a silicone mold or paper cups with popsicle sticks. This creamsicle recipe is colorful and has immune boosting elements by adding turmeric and fresh squeezed orange juice. Plus, a homemade popsicle is a great way to stay hydrated after a hard workout.

Ingredients:
1 organic lemon, juiced and zested
2 organic oranges, juiced and zested
¼ cup maple syrup
½ can full fat coconut milk
½ cup plain greek yogurt
¼ teaspoon ground turmeric
Instructions:
- Place all of the ingredients in a high powered blender. Puree ingredients until they are smooth.
- Pour the mixture into your popsicle molds.
- Place the molds in the freezer. If the sticks do not stand straight up on their own at first, let the popsicles freeze for about one hour before sticking the sticks in.
- Freezing the popsicles for at least 8 hours, overnight is best.
- Remove each popsicle when you’re ready to enjoy them. They can stay in the freezer for about 7 days.
Tips:
- You can use other citrus for other flavor profiles. Adding a bit of lime juice and a pinch of salt will result in a margarita-flavored popsicle.
- You can use another non-dairy milk, but the coconut milk will have the creamy texture you want from a creamsicle.